Bathroom Diy Remodel Ideas
I'm a compulsive DIY'er, recently I finished another bathroom remodel and have learnt to tile, re-level floors, waterproof and a little bit of carpentry (woodwork / cabinet making). It's amazing what you can learn on youtube 🙂
In this article I'll focus on cosmetic renovations. This is where the bones of the bathroom are left untouched.
1. Bathroom Theme / Style/ Design
The first step is getting a solid design theme & plan. This will help identify what you can keep from your current bathroom. If you're on a tight budget there are some awesome products to refinish and paint tubs, cabinetry and tiles.
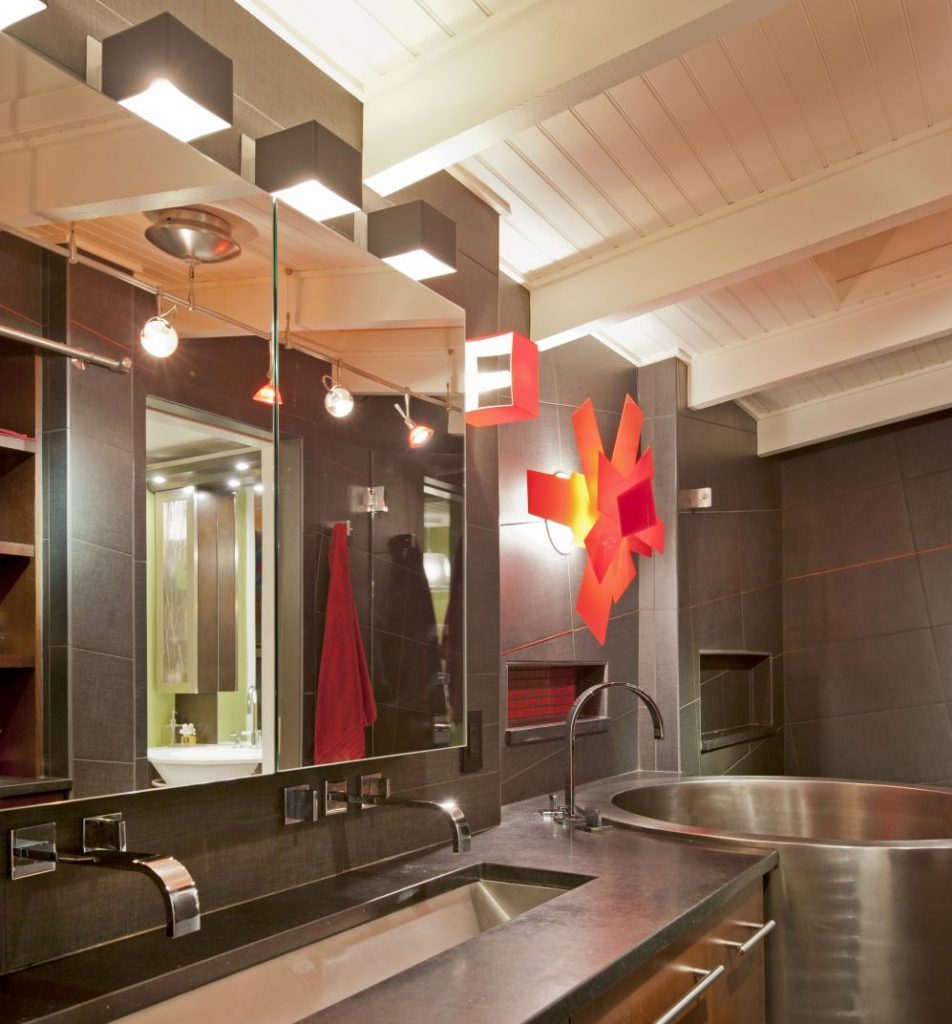
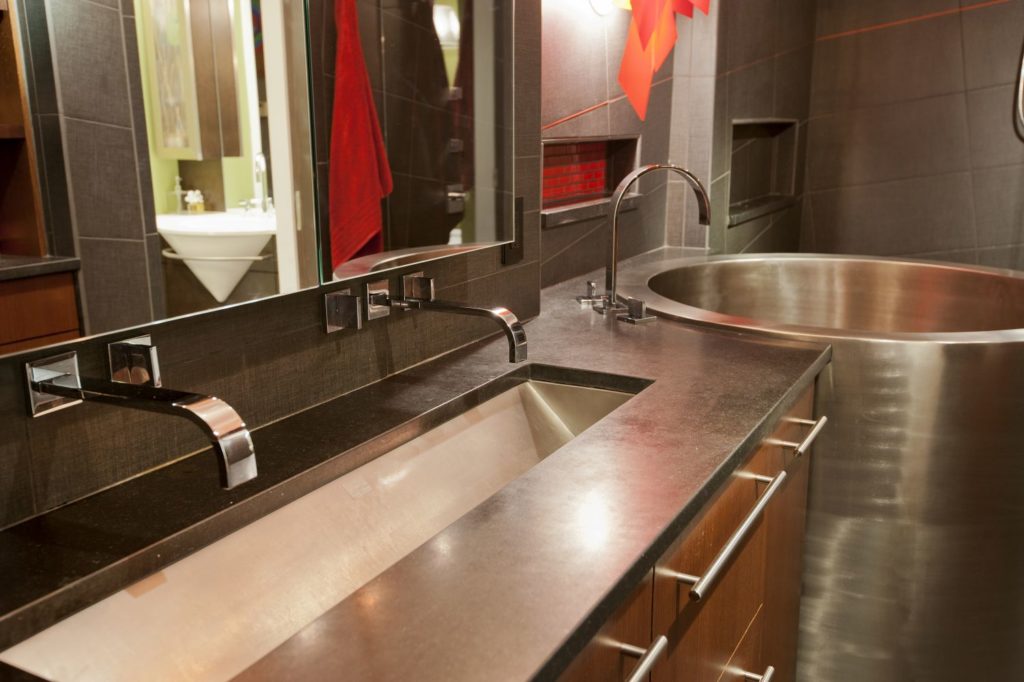
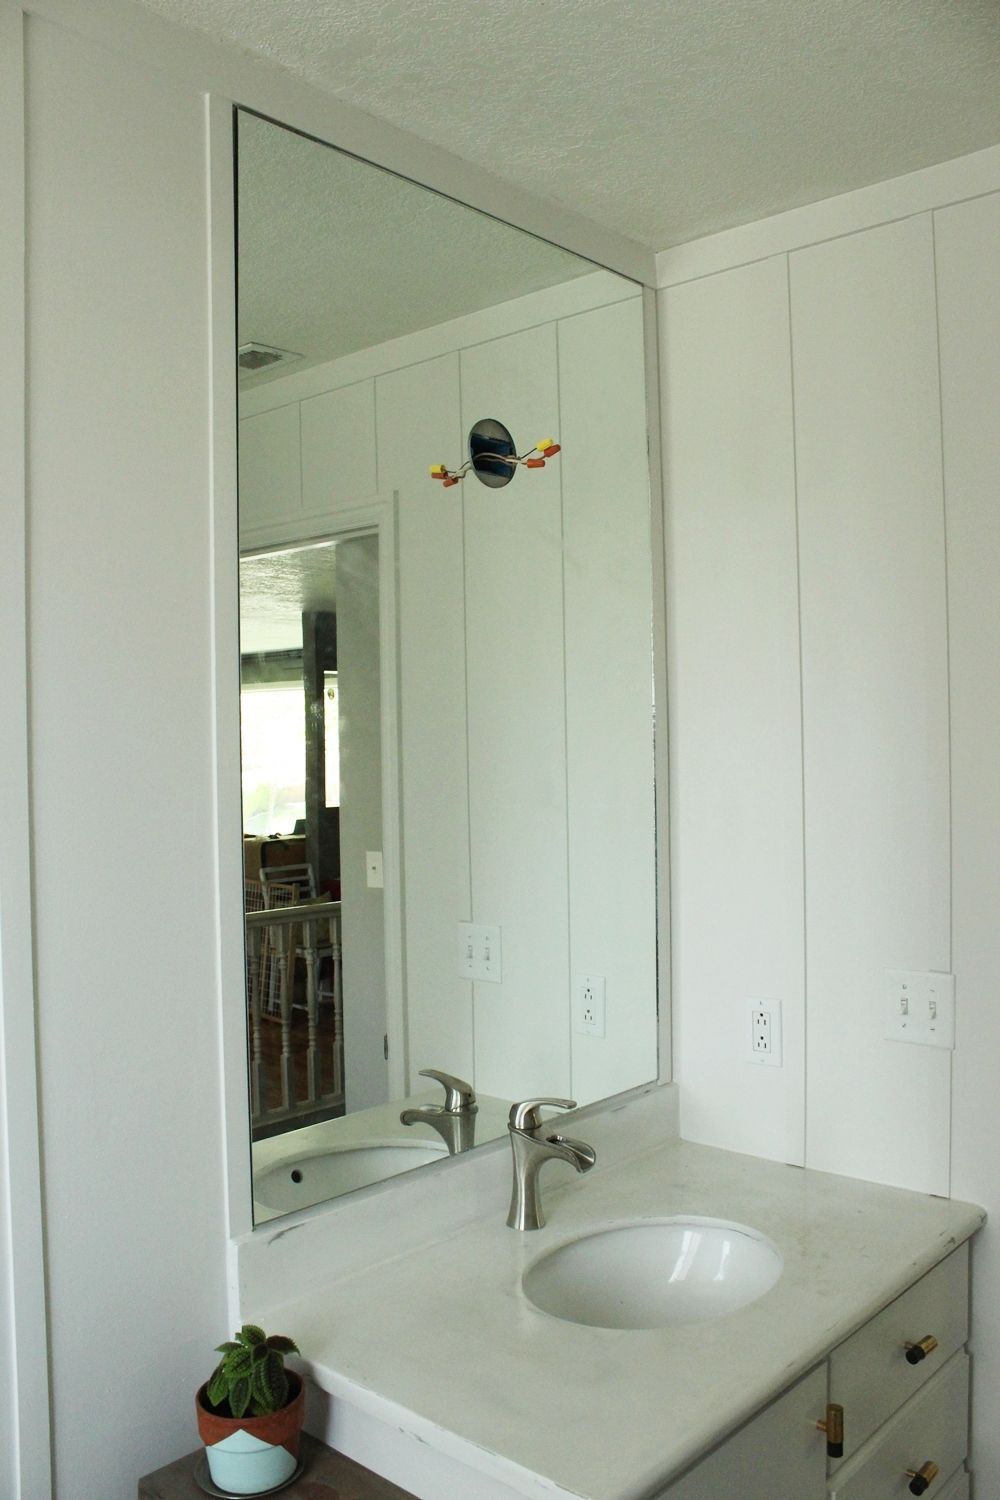
Take a look at this post for some bathroom styling ideas such as trends in mirrors and vanities.
2. Plan the remodel and check if you will need to hire tradies
To plan your trades start by looking at the layout of your bathroom. Good bathroom design and functionality helps sell houses. Keeping the drainage and plumbing in the same position will save you thousands but its worth hiring tradies if the flow of your bathroom doesn't work.
I called in a plumber to make some minor adjustments to the water outlet placements for the shower. On beginning my bathroom renovation I realised my beautiful vintage-industrial style shower required a separate hot & cold water outlets where the taps are.
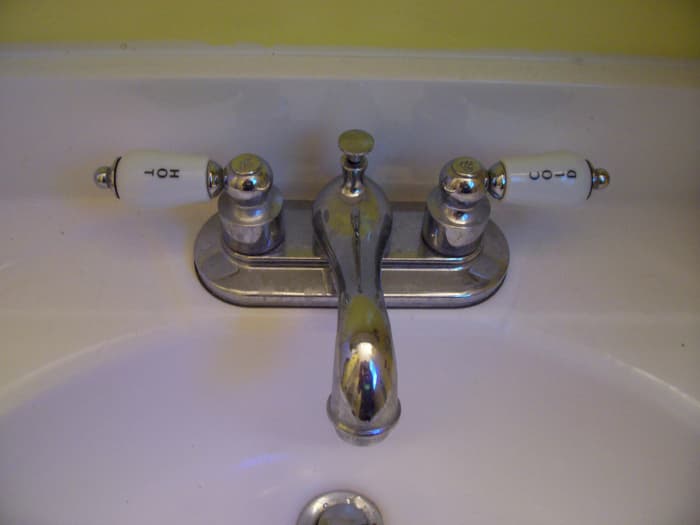
For DIY plumbing tips this article may be useful. I describe how to change from separate wash basin taps to a single mixer. It's easier than you think!
3. Demolition & replacing cabinetry
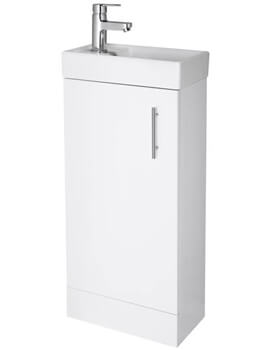
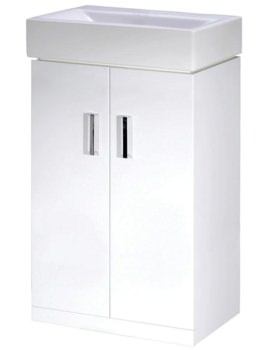
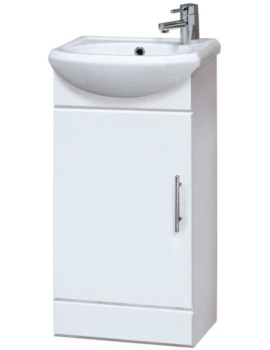
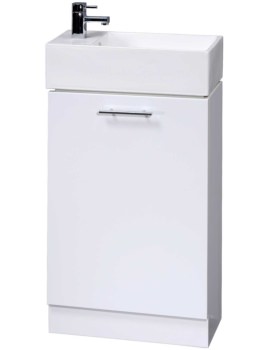
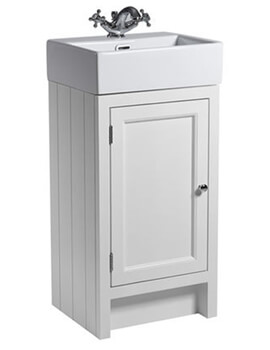
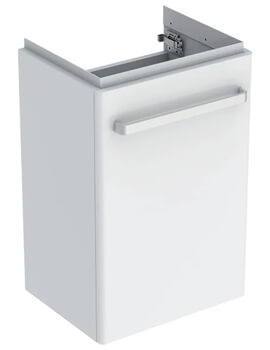
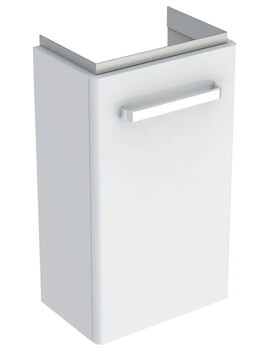
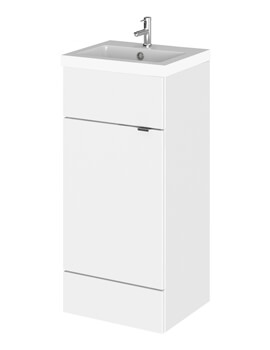
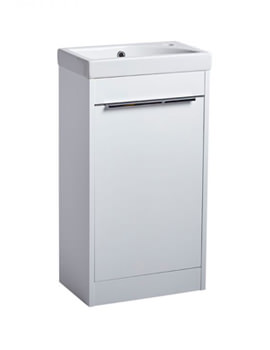
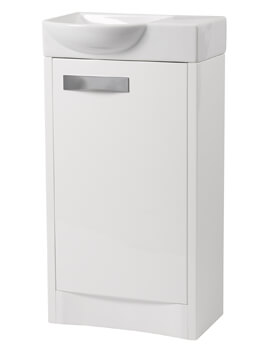
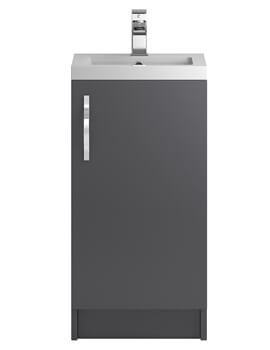
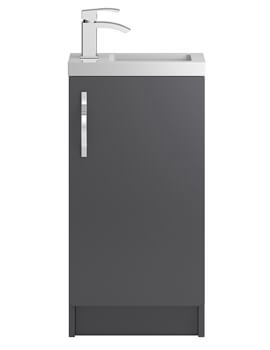
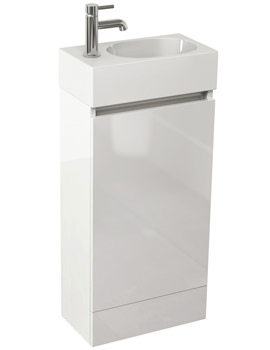
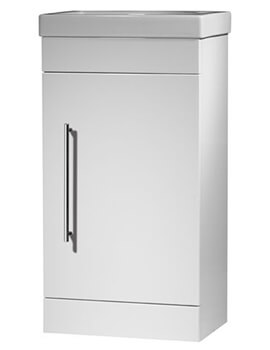
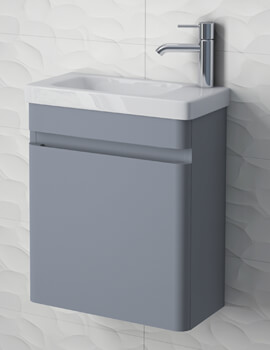
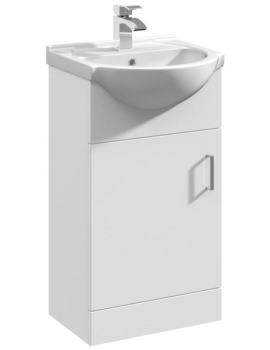
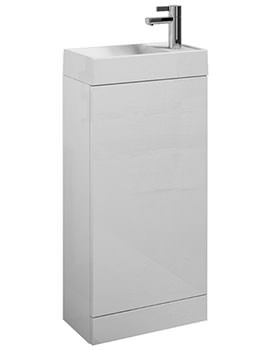
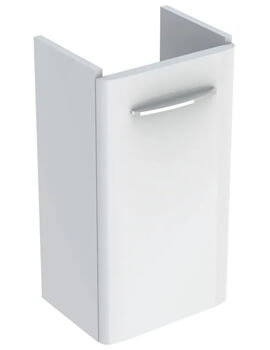
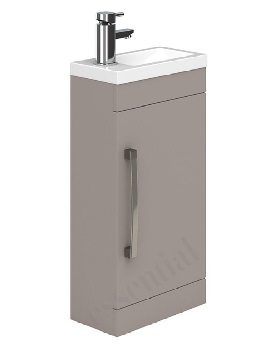
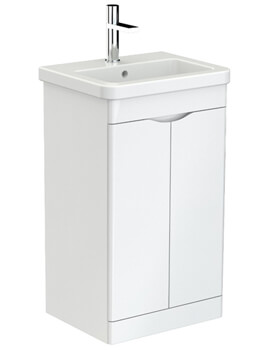
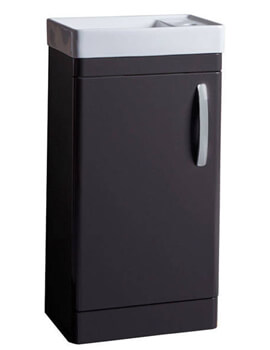
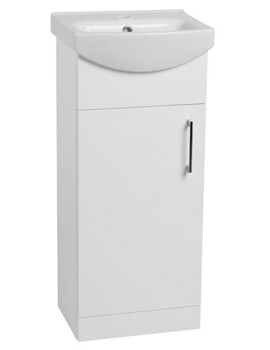
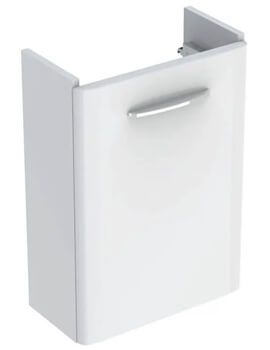
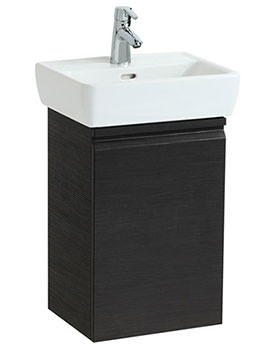
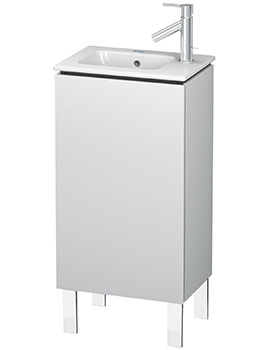
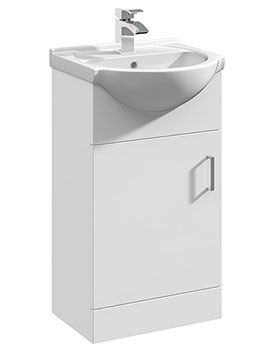
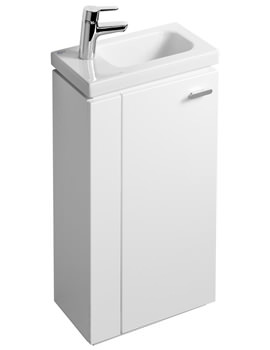
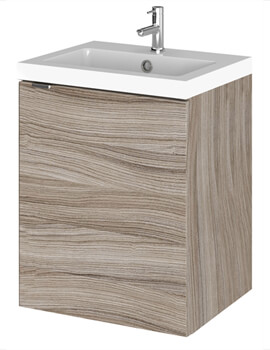
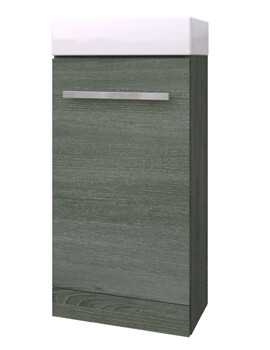
If you have cabinetry thats simple and in good condition then it can be saved but replacing the cabinet and using a modern basin can have a big impact on the overall feel.
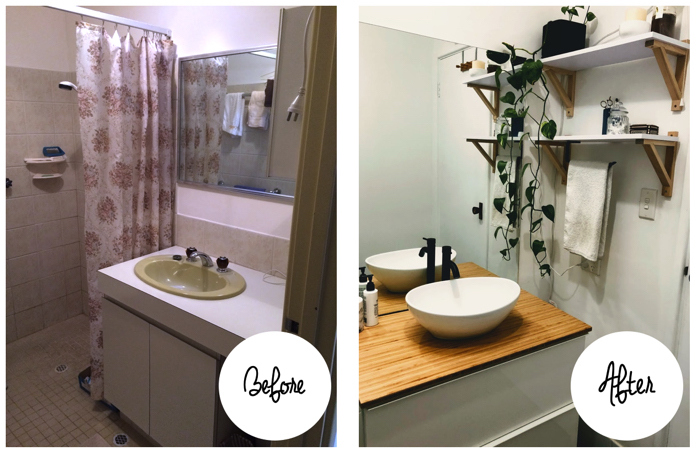
Cabinet paint is a durable, low cost way to update and freshen-up cabinets. I've used white, high-gloss cabinet paint in a kitchen renovation and the results were fantastic. The original cabinets were melamine and the bottom edge of the doors were chipped and damaged. My budget and timeline wouldn't accommodate ripping them out and replacing. I used a jigsaw to trim about 1cm off the bottom of the doors, the cabinet doors overlapped the opening so luckily this didn't compromise the overall look.
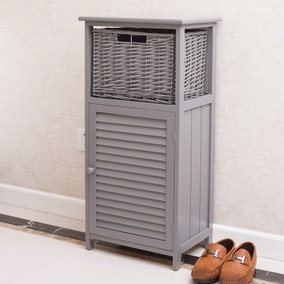
In my most recent bathroom makeover I saved on renovating costs by upcycling a cabinet. I bought it second hand for $40 and made curvy mid-century style legs. I had also looked at buying stylish furniture legs online such as these but wanted to create something unique. I also sanded back and stained the cabinet with mahogany wood stain then finished with a high gloss varnish.
Above bench basins are really popular right now but don't make the mistake I made and use a high edge basin on a standard height bench-top. I feel like I need a stepping stool to wash my hands!
4. Painting tiles
I have used White knight tile paint previously that has worked out well but preparation is key!
- First clean the tiles well, but to be honest, when you are sanding back the tiles and grout a lot of this surface gets removed anyway.
- Sand the tiles. This step is crucial in making the paint stick. If you have smooth glossy tiles and your sand papering efforts fail to roughen up the surface then you're bound for disappointment. I plan to write an in depth article on this with my experiences and while tools worked the best for me, stayed tuned and I'll link it here when published.
- Clean the tiles again, removing any dust, soap residue or other contaminants. If there is any spots where mould has been growing, treat them with bleach.
- Apply the primer. Stir the tile priming paint well before using. Paint the corners first with a paint brush (cutting in) then coat the remainder with a small paint roller. For cutting in I always use a tapered brush like this. Most brands require 4 hours dry time before applying the colour coat.
- Apply the top coat. To ensure an even cover apply the first coat in a horizontal pattern with the roller then the second coat in a vertical direction.
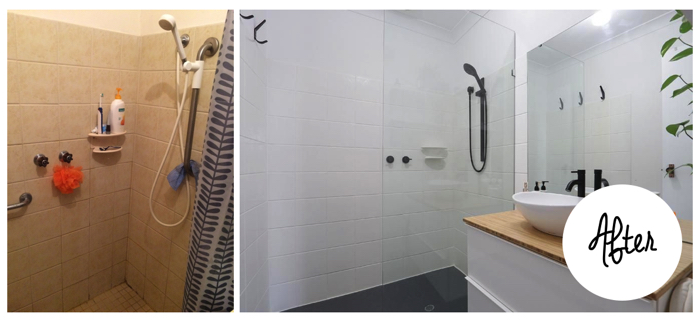
In the above bathroom I painted the floor tiles, this worked well because the floor tiles were textured. I would not recommend painting smooth, glossy floor tiles as I just dont think the paint will adhere well enough to the surface to last constant traffic.
5. Replace taps and faucets
After the tiles are painted and the cabinets have been replaced or painted its time to update the taps & faucets. Step away from traditional chrome and consider 'old-gold' shades of brass or rose gold. Black tap-ware is going out of style but considering how easy it is to change taps & faucets, there is no harm in going with this trend until you get sick of it! Just choose the shower faucet with caution, if the shower outlets need to be tailored to the tap-ware then it will be a pain to fix as the tiles will need to be removed for a plumber to change the layout of the pipes.
6. Painting the bathroom walls & ceiling
What kind of paint should you use in a bathroom?
The bathroom is a high humidity environment so it's important to use paint that suites the conditions. Paints with a higher sheen are easier to clean and remove mould or staining for high humidity environments such as bathrooms.
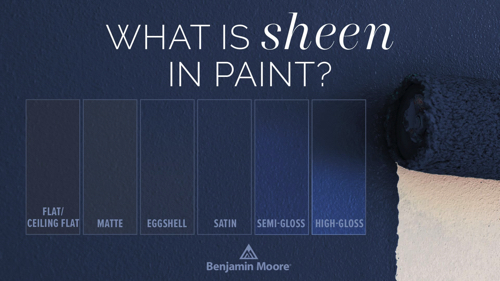
The image below shows the finish or levels of sheen in paint. Flat paint has no shine, it has an even matt finish and absorbs rather than reflects light. When you run your hands over a flat painted finish it feels slightly rough and textured compared to a smooth gloss paint. Matte, eggshell, satin, semi-gloss and high gloss have increasing levels of sheen and durability.
What paint to use on bathroom walls?
Use a eggshell or satin finish paint for bathroom walls as this is more durable than lower sheen paints. The more textured (lower sheen) the paint, the more it will tend to trap moisture and tend to stain.
Note: If your bathroom has mould or damp issue then it's vital to improve the ventilation with a good exhaust fan. This is inexpensive and help reduce the humidity and prevent mould.
What paint to use on the bathroom ceiling?
Matt paint is the standard for ceilings in all areas of the house except the bathroom. In most rooms there is no need for the durability of glossier paints and a flat finish will help light spread evenly throughout the space without reflecting or creating glare. However, for bathroom paint longevity, select a paint finish that has a slight sheen such as satin finish or eggshell as the humidity can lead to staining of the paint.
If you do choose a flat/ matt finish it just means you may have to re-paint the ceiling in a few years to keep the space looking fresh. As a DIYer, painting ceilings is one of my least favourite jobs so in my opinion its best to use the most durable products from the beginning.
7. Finishing touches for your bathroom remodel
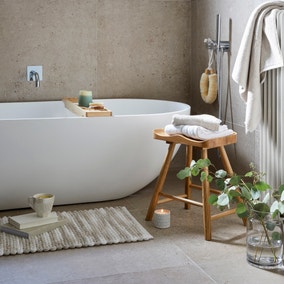
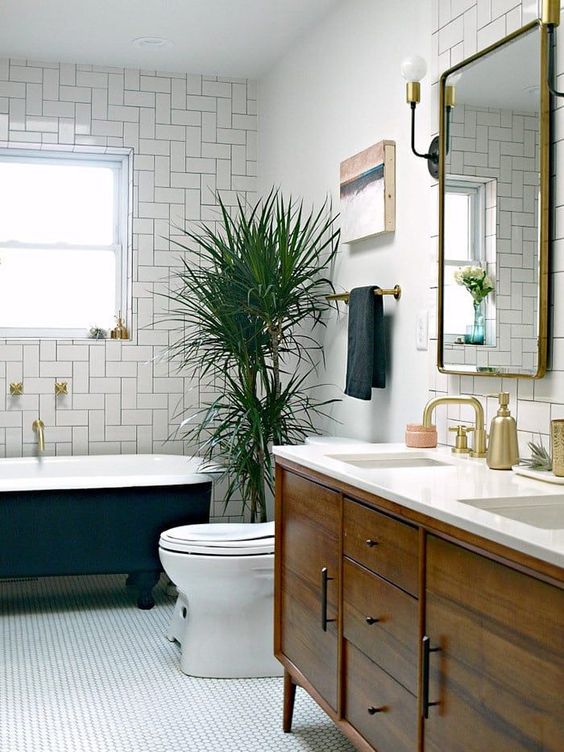
You've done all the hard work, and now it's time for the fun part. Decorating involves all the non-permanent touches like mirrors, plants, artwork and beautiful things! Make sure each piece ties in with your original vision and in small spaces keep the decor functional to prevent clutter.
Bathroom decorating tips
- Find a unique container for organising toothbrushes, lotions and potions
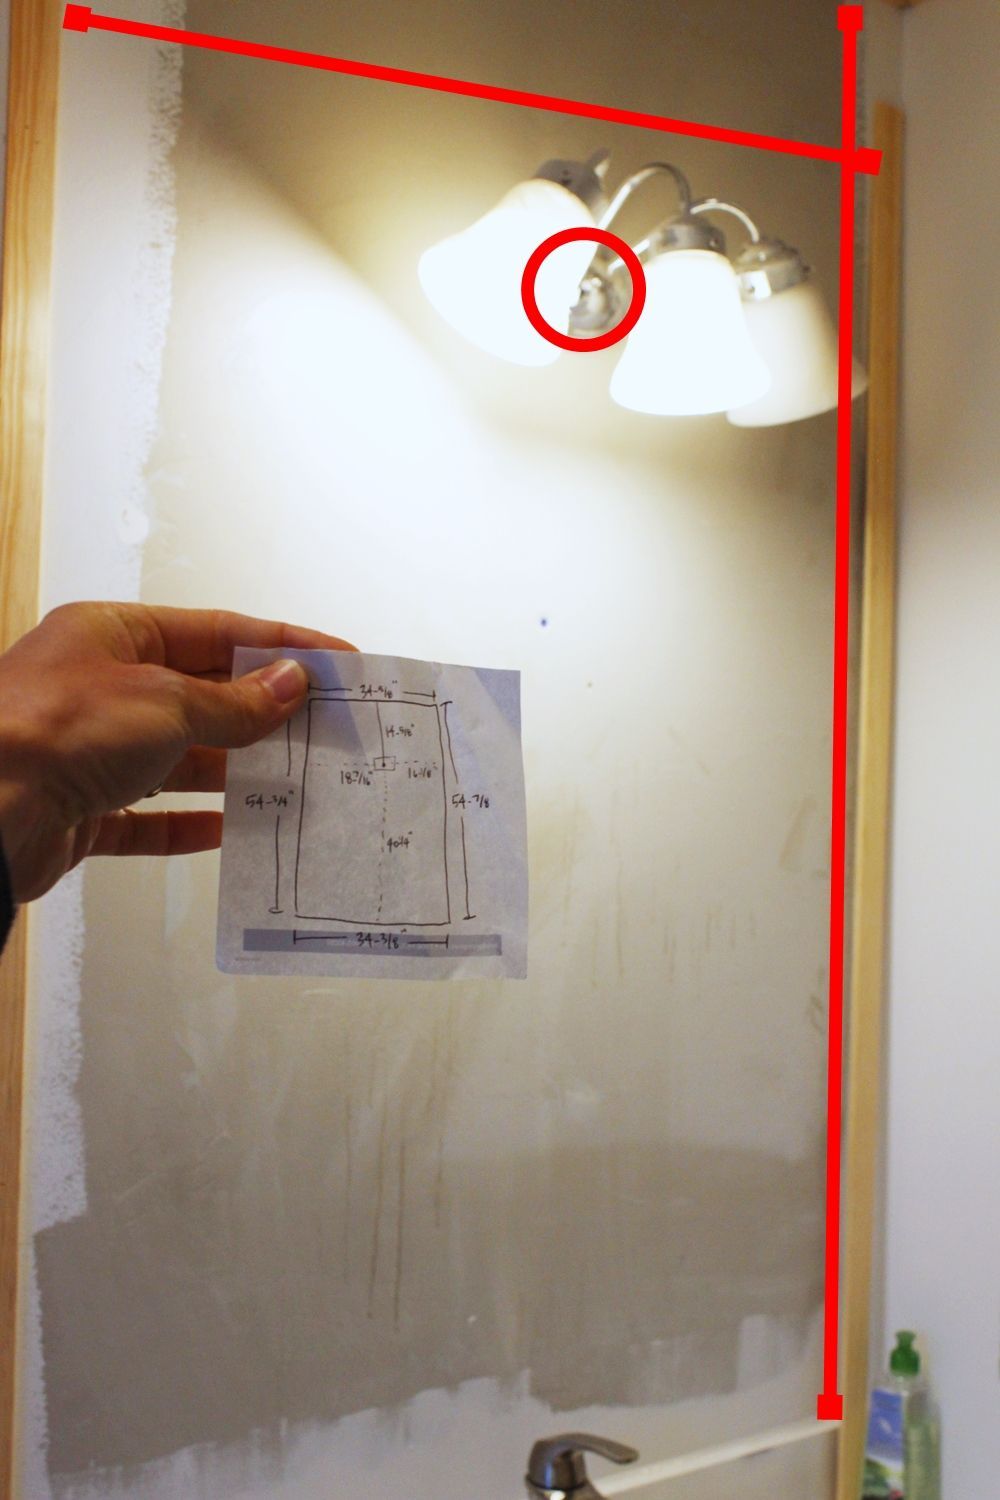
- Light the mirror with pendants for effective task lighting. Take a look at this post for more on the 3 types of lighting.
- Dont forget the floor, for an eclectic theme try a vintage Turkish rug, for a beachy / coastal style try a floor mat in a natural jute or if you've gone Hamptons look for shades of blue and interesting patterns.
- Towel racks. Instead of going for a basic towel rail consider a towel ladder or if space is limited, interesting industrial looking towel hooks.
- Shelving. To keep surfaces clutter free install open shelves with stylish boxes and containers to keep hairdryers, straighteners and annoying cords out of sight.
Source: https://homedecordesigns.info/bathroom-ideas-diy-bathroom-remodeling/
